
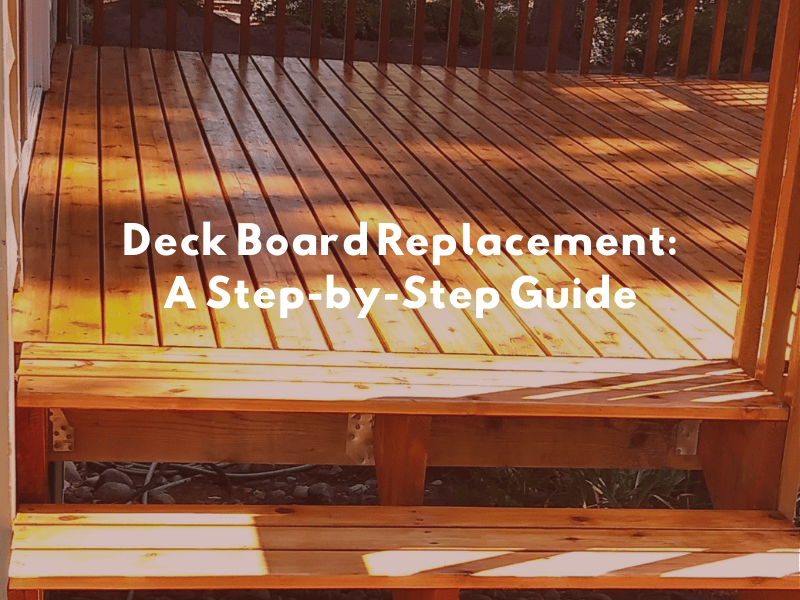
Deck board replacement is essential for maintaining the safety and aesthetic appeal of outdoor spaces. Over time, deck boards can become damaged due to weather conditions and regular use. This guide provides an overview of the replacement process, including identifying worn boards, the tools required, and steps to successfully replace them. Proper maintenance after replacement will also be discussed to ensure long-lasting results.
Deck Board Replacement Overview
Deck board replacement is a crucial maintenance task that preserves both the safety and appearance of outdoor spaces. Understanding the reasons for replacement, recognizing signs of wear, and evaluating the current condition of the deck are essential for effective upkeep.
Why Replace Deck Boards?
- Safety Concerns: Splintering or rotting boards can cause injuries and create hazardous conditions.
- Aesthetic Improvements: Enhancing the deck’s appearance boosts the overall visual appeal of the property.
- Preventing Further Damage: Addressing damaged boards promptly prevents issues from spreading to the structure.
- Increasing Property Appeal: A well-maintained deck increases the desirability of your outdoor living space.
Tip: Regular inspections can prevent small issues from turning into major repairs.
Common Signs of Wear and Tear
Identifying indications of wear is fundamental to knowing when to replace deck boards. Look for these warning signs:
- Cupping: Edges of the boards curl upward due to moisture imbalance.
- Checking: Long cracks appearing along the wood grain.
- Splintering: Loose fibers that pose risks to bare feet and pets.
- Knot Holes: Weak spots that can lead to structural issues.
- Soft or Bouncy Boards: Indicate possible rot underneath.
Maintenance Tip: Inspect the deck surface after heavy rain or snow to catch damage early.
Assessing Your Deck’s Condition
Before replacing deck boards, conduct a thorough assessment:
- Visual Inspection: Check for cracks, splinters, and discoloration.
- Surface Testing: Apply pressure to boards to detect soft spots.
- Structural Examination: Inspect joists and beams for rot or water damage.
- Fastener Evaluation: Identify and replace rusted or loose nails and screws.
Pro Insight: Use a moisture meter to detect hidden water damage.
Tools and Materials Required
Gathering the right tools and materials beforehand ensures efficiency and safety.
Essential Tools:
- Tape measure
- Speed square
- Circular saw
- Drill and driver
- Pry bar
- Level
- Safety goggles and gloves
Materials Needed:
- Pressure-treated or composite deck boards
- Weather-resistant screws
- Joist protection tape
- Deck cleaner and sealant
Material Tip: Composite boards require less maintenance, while natural wood offers a classic aesthetic.
Step-by-Step Deck Board Replacement Guide
1. Removing Old Deck Boards
- Clear the deck area of furniture and decorations.
- Use a pry bar to lift boards while protecting nearby surfaces.
- Remove fasteners with a hammer or drill.
- Inspect the joists for signs of rot or damage.
Caution: Dispose of old boards responsibly.
2. Preparing the Deck for Replacement
- Sweep the deck to remove debris.
- Check the joists for damage and apply protective tape.
- Ensure all structural components are secure.
Preparation Tip: Apply sealant to exposed wood surfaces to prevent moisture intrusion.
3. Installing New Deck Boards
- Lay the boards with proper spacing for drainage.
- Drill pilot holes to avoid splitting the wood.
- Secure boards with weather-resistant screws.
- Use a level to ensure even surfaces.
Installation Insight: Maintain consistent spacing to accommodate seasonal wood movement.
Cost Considerations for Deck Board Replacement
While costs vary based on materials and deck size, investing in high-quality materials and professional craftsmanship ensures durability and long-term savings.
Factors Affecting Replacement Costs:
- Deck Size: Larger decks require more materials and labor.
- Material Selection: Wood, composite, and synthetic boards offer distinct benefits.
- Structural Repairs: Replacing damaged joists or beams increases the project’s scope.
Tip: Consider off-season scheduling for potential savings.
Deck Maintenance After Replacement
Protecting your deck after board replacement helps maintain its structural integrity and aesthetic appeal.
- Routine Cleaning: Sweep and wash the deck regularly to remove dirt and moisture.
- Periodic Inspections: Check for loose fasteners and signs of wear.
- Surface Protection: Apply a water-resistant finish to minimize damage from rain and sun.
- Furniture Care: Use pads to protect against scratches.
Long-Term Advice: Reapply protection as needed to maintain a durable barrier.
Choosing Professional Deck Replacement Services
Hiring professionals can simplify the replacement process and ensure high-quality results.
What to Look for in a Deck Replacement Expert:
- Local Experience: Familiarity with weather challenges in your region.
- Certifications: Proper licensing and insurance coverage.
- Client Testimonials: Positive reviews from satisfied customers.
Essential Questions to Ask:
- How do you handle unforeseen structural issues?
- What materials do you recommend for long-term durability?
- Do you provide a warranty for your work?
- Can you share references from recent projects?
Final Thoughts
Deck board replacement is an essential component of deck maintenance, enhancing safety and aesthetics. By addressing damage promptly and following best practices, you can extend the lifespan of your deck and enjoy your outdoor space for many more seasons.


